Poloniex was once situated in January 2014 and is stated to be one of the most energetic crypto exchanges in the world. This US-based platform offers you get entry to the present-day tokens while monitoring your account 24/7 blockading any suspicious activity.
Table of Contents
Step 1 – Sign-up on Poloniex
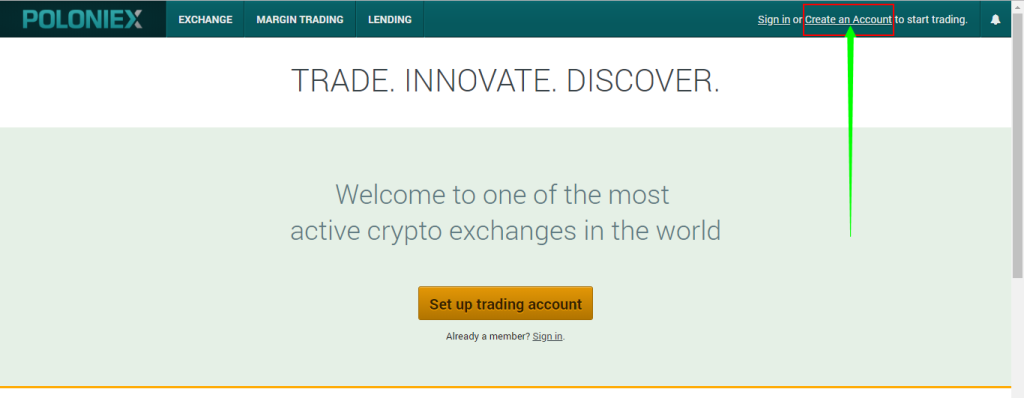
To get started, get admission to the alternate website online here. Select “Create an Account” to open up a Poloniex account.
The first component you want to do in order to purchase Bitcoin on Poloniex is to create an account. There’s no KYC required for withdrawals under $10,000 per day. To create an account on Poloniex, click on the button beneath and observe the instructions.
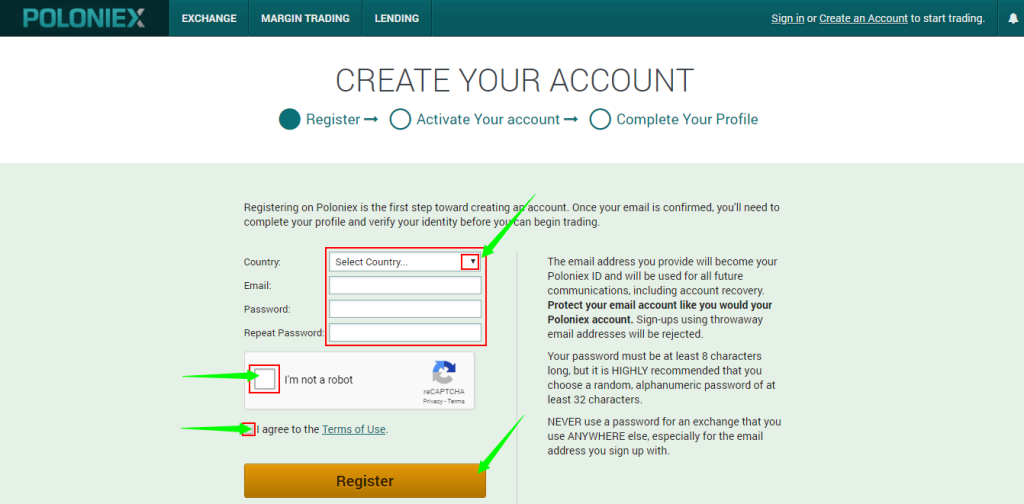
The web page will take you to the “Registration page” the place you want to fill out the structure and approve the captcha as properly as the agreement confirmation. Once done, click on the “Register” button.
You will get a hold of an affirmation message from Poloniex despatched to your email. Locate that message and click on the hyperlink to validate the registration process.
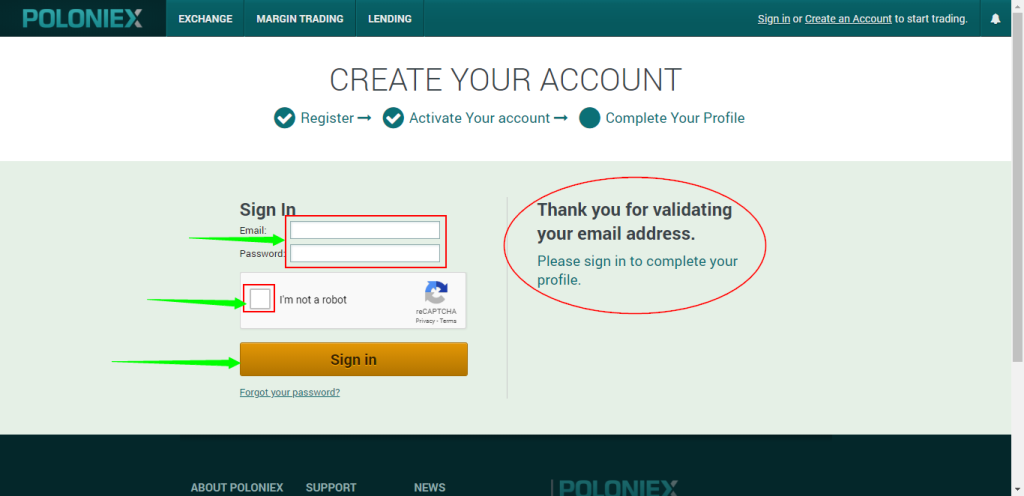
Once the hyperlink is clicked, you will be routed to the Poloniex web page confirming that your electronic mail tackle has been validated. Sign in with your registered username and password to continue.
Step 2 – Validate your Poloniex Account
Validating your Poloniex account is an integral technique and needs to be followed. To do this, fill out the “Profile” structure after logging in to your newly registered account. Check the “Agreement” field and click on “Begin Verification.”

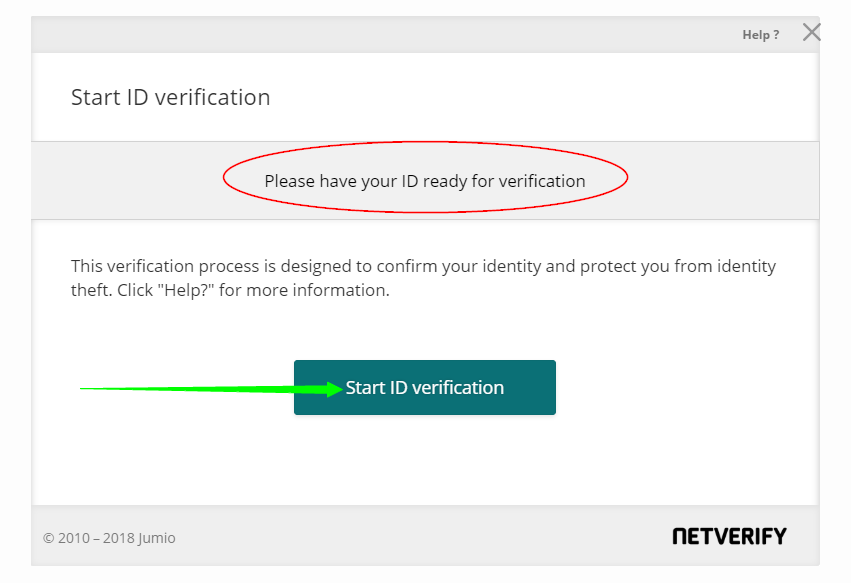
The subsequent step requires you to existing an ID. Click on “Start ID verification” and add the front and the returned view of your favored ID.
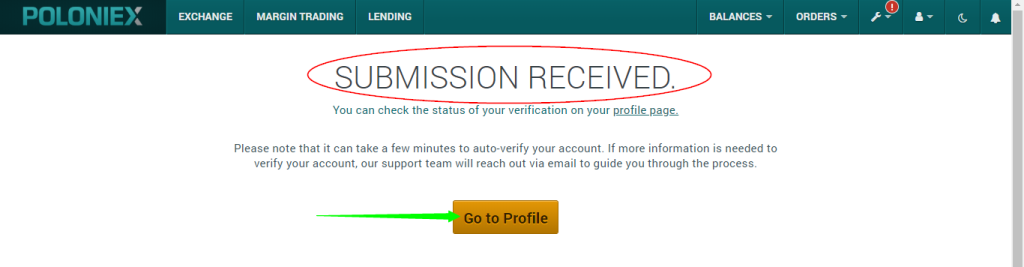
After submitting the ID photos, you can go to your profile to test the reputation of the ID verification process.
Step 3 – Set up Two-Factor Authentication on your Poloniex account
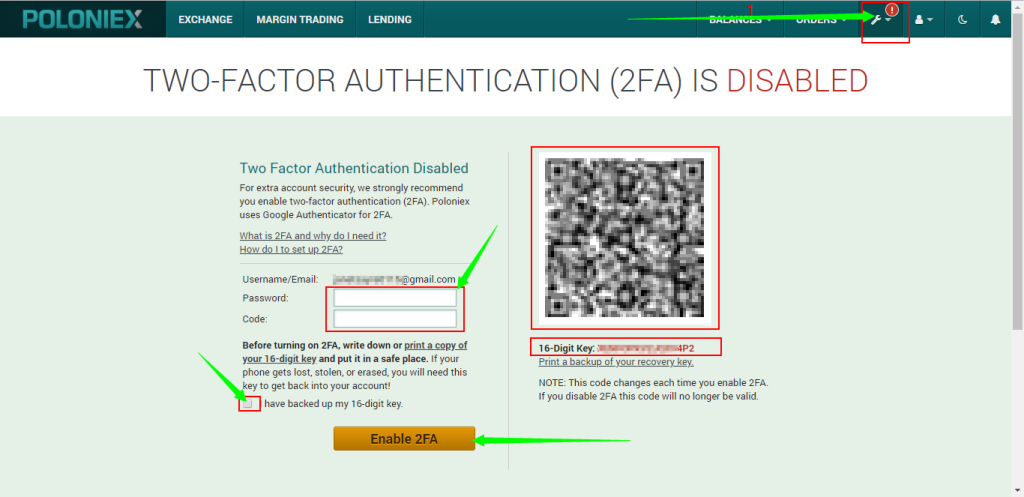
To prompt 2FA on your Poloniex account, click on the screwdriver icon at the upper-right hand nook of the web page and pick out “Activate Two-factor Authentication.” Type in your password as nicely as the six-digit code, then verify that you have backed up the 16-digit key. This will enable you to get better Google Authentication in case your cellphone is lost or stolen.
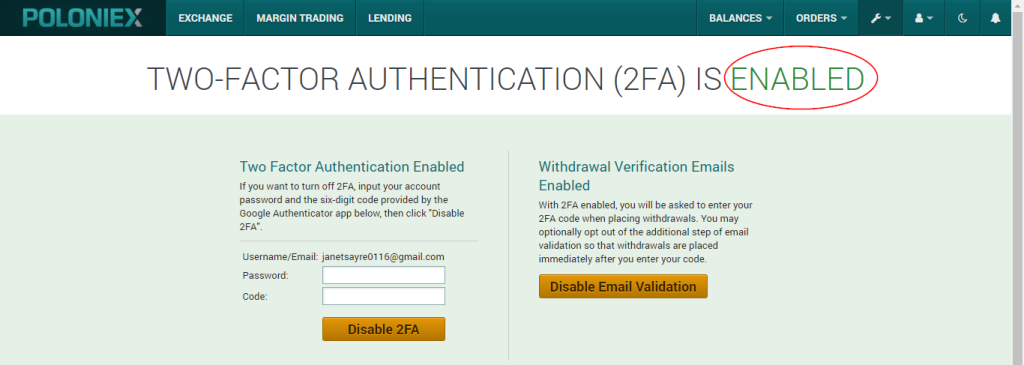
The Poloniex web page will then verify that you have enabled 2FA.
Step 4 – Add cash on your Poloniex account
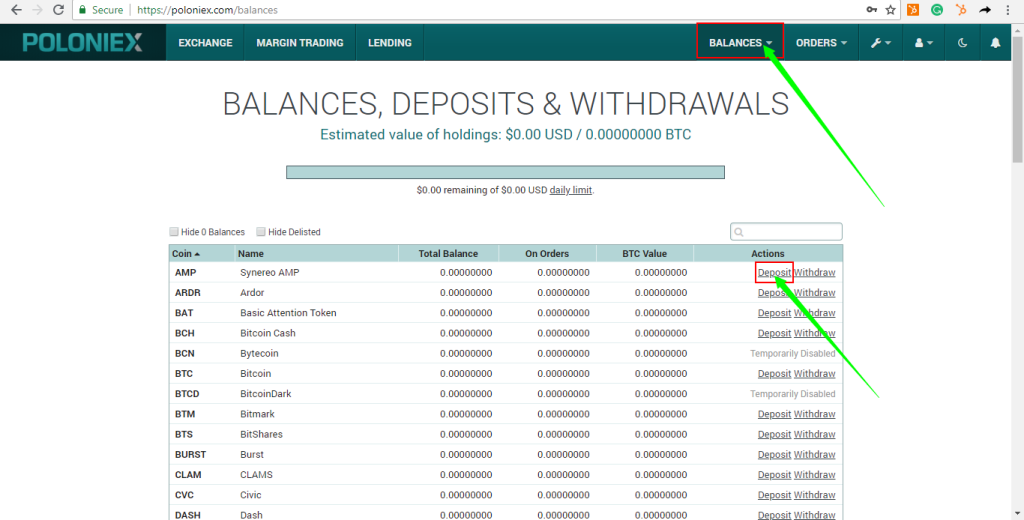
Since we have validated your identification on Poloniex and made certain that your account is secure to use, it’s time to save funds. Click on “Balances” and choose “Deposits/Withdrawals.” Keep in thought that you can solely save cryptocurrencies with Poloniex. In this example, let’s use XRP.
To begin depositing, choose XRP from the listing of cryptocurrencies and click on “Deposit.”
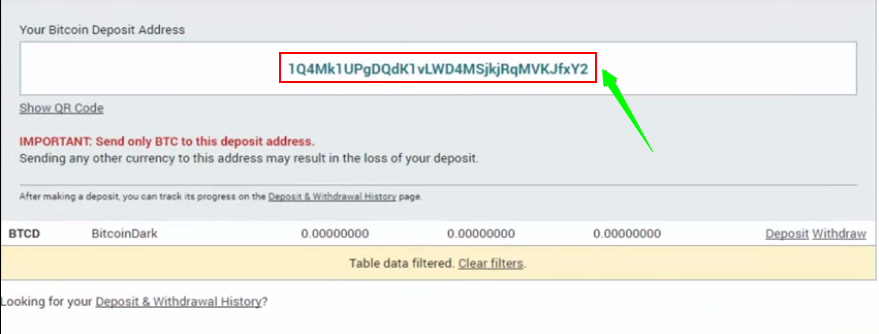
Copy the Deposit Address and use it in sending XRP. Make positive that you are now not sending any different forex to your credit score tackle to keep away from dropping funds.
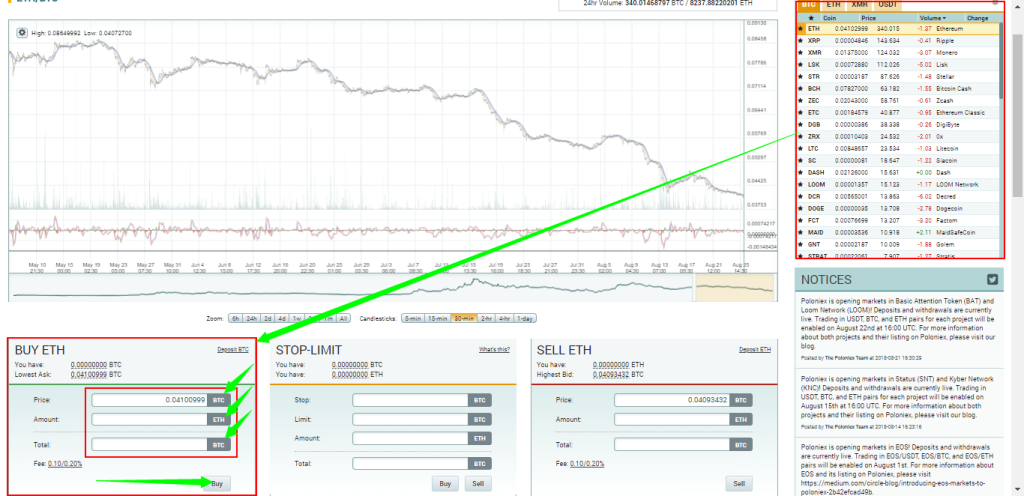
Step 5 – Start buying and selling on Poloniex
You can begin buying and selling on Poloniex the usage of your funded account. Click on “Exchange” to do so.
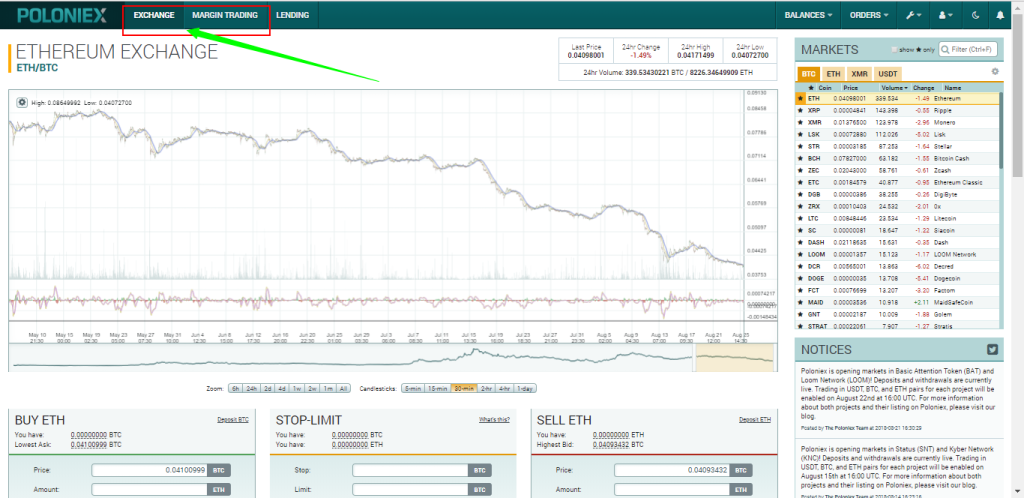
Using “Markets” as your reference earlier than doing any buying and selling transaction, pick out your currency, then scroll down the web page and go to “Buy Bitcoin” the place you can kind in your amount. Click on “Buy” each time you are ready.
Click on “Orders” at the upper-right hand element of your Poloniex web page to view your open orders as nicely as your buying and selling records and analysis.